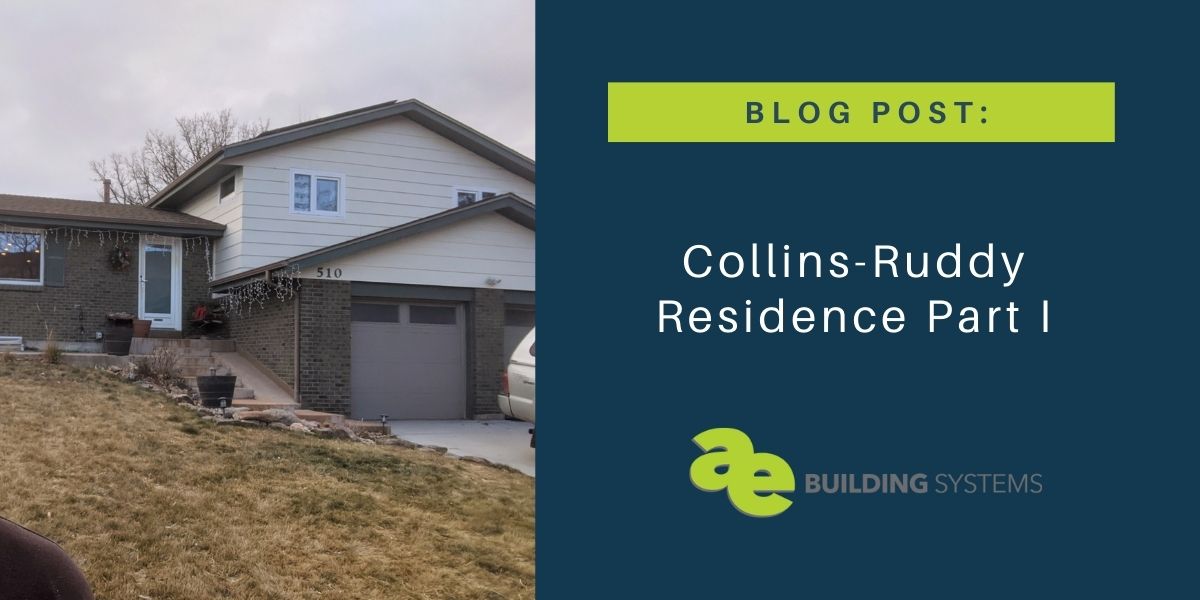
Collins-Ruddy Residence Part I

Here’s a look at how the Collins-Ruddy family worked to retrofit their home…

We like to practice what we preach here at AE Building Systems, which is why we’re excited to share about a project for our very own Todd Collins! (If you haven’t met Todd yet, below is a quick intro.) The Collins-Ruddy Residence is probably much like your own home: it wasn’t built from scratch with Passive Haus/energy-efficiency in mind. So many homeowners buy a home that meets other needs, but often doesn’t tick the box of efficiency. And so, we enter a retrofit situation! 

Setting the Stage

The Collins-Ruddy Residence is a 1971 tri-level home with a basement (four levels in total) with 2×4 construction, and fiberglass batt insulation. The home has had some window replacements, but they are still lower performance windows than the ideal situation. The house has forced air heat with a gas furnace, and a gas hot water heater as well. The house also came with a programmable thermostat, reasonably new range with a convection oven, electric resistance cooktop, and an old Montgomery Ward Fridge.  

The Collins-Ruddy family keeps the thermostat roughly at 68 degrees F in evenings and mornings, and 60 degrees F at night and when not occupied. Of course, remote working and virtual school have changed the game for their recent years’ occupancy. 

The Problem

Todd and his family care deeply about Passive Haus techniques and energy efficiency, so any home they would have purchased would have needed some adjustments in their eyes. However, this tri-level posed a few other obvious problems for them. The young kids’ bedrooms were COLD at night, resulting in poor sleep for them (and the parents)! They also experienced thermal bridging in most zones of the home, which were accentuated in extreme hot and extreme cold seasons!

The Investigation

Todd decided to get an energy audit for their home to evaluate how and what to focus his attention on to improve energy efficiency. 

The Solution: Phase I

As a result of the audit, Todd did a few simple things to help within their current framework. Below is a rough timeline of their journey so far:

2012:

  • Wrapped the water heater – Cost $40 for “insulation blanket” 
  • Power strips at TVs and Computers – Cost $50 to reduce phantom loads 
  • Gas Fireplace – Taped it off with an air barrier 

2013:

  • New Washer/Dryer – Cost $1400 – high-efficiency units
  • New Fridge – Cost $1100
  • New Garage doors – R-10 and reasonably airtight
  • New Ceiling fans – To reduce A/C usage – DC/ECM motors and CFL/LED lights $2400
  • Insulation/Air Sealing Contractor $4,100 
    • Insulated – skylight walls in attic – blanket insulation  
    • Insulated – knee-walls between attic and conditioned space – similar to skylight walls
    • Air-seal attic junction boxes – ceiling fans (6) and electrical boxes – 3 new, 3 replaced 
    • Air-seal attic along exterior and interior walls – foamed attic wall junctions and gabled end where the walls meet the attic  
    • Attic hatch dam to hold insulation back  
    • Insulated attic hatch with 10” of recycled XPS and Poly-Iso 
    • Attic Insulation – increased insulation to R-65 (increase of R-25+) in two attic spaces 
    • Air-seal bottom plate – foam insulation in bottom plate rim from the interior 
    • Drill and Fill above garage/below bedrooms
    • New bath fan with DC/ECM blower motor 

2014:

  • Installed Solar Panels $15,000 installed  
    • 3.9 Kw System – covers all electrical and then some

2015:

  • Windows/Doors $27,000 installed  
    • Replaced all windows and doors – R-7
    • Added two new South facing windows  
    • Installed new entry and French doors – R6 (Euro-style with multipoint locking for airtight and sound dampening results)
    • Installed new door from garage to interior of house (insulated fiberglass r4)

2019:

  • Basement – our office and workout space was cold due to thermal bridging  
    • Taped the bottom plate on the interior to reduce air infiltration  
    • Insulated basement walls with 3” Rockwood Continuous Insulation 

2020: 

  • Kitchen remodel with energy-efficient appliances 
    • Induction cooktop 
    • Convection oven 
    • Fridge – second version 7 years later  
    • Dishwasher 
    • Nest Thermostat 

Ongoing:

  • Replaced Lighting – CFLs swapped for LEDs  
  • Retaped furnace ducts where accessible  

The journey to better energy efficiency doesn’t stop, but as you can see this is a journey. Retrofitting a house doesn’t happen all in a blink of an eye, and this project is a case in point of how you can focus on small, low-hanging fruit, as well as bigger projects as your budget and time allow. 

Join us next month to see how all of these changes have worked out for Todd’s family, as well as other issues they still plan to address in order to improve the house even more!

Got questions for Todd? Feel free to reach out! 

Todd Collins 720.287.4290

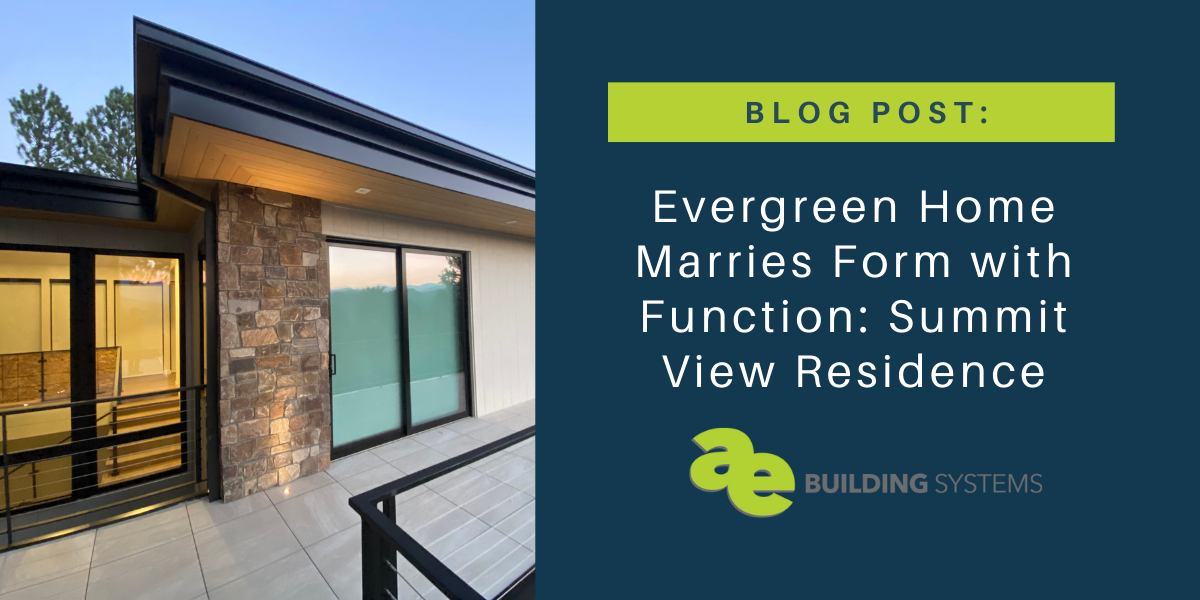
Evergreen Home Marries Form with Function: Summit View Residence

At AE Building Systems, we love seeing products in action, especially when they are at work in smart ways. That’s why we love seeing the progress at the Summit View  project, nestled right in the heart of the Rockies. This home reflects the beauty of design, and the high-quality foundation of energy efficiency at the same time. When you build with quality products, it will not just look good, but operate well for the occupants for years to come!

Rangeline Homes

The Summit View project is headed up by Rangeline Homes, a general contractor based in Evergreen, Colorado. Rangeline has over a decade of experience with high-quality, sustainable residential construction. Their team is led by Luke Mann and Todd Switzer, both of whom are hands-on and big on communication throughout the entire project.

The Summit View home was designed to ultimately maximize this lot’s stunning mountain and lake views. As a result, special attention was taken to the positioning of the house on the lot, as well as windows and entryways. Mount Evans is the show-stopper in the view, and the house is not far from Evergreen Lake, downtown Evergreen, and Three Sisters Park. 

Design and aesthetic considerations were the primary focus on this project, as the views and setting are simply extraordinary. However, they also didn’t want to sacrifice performance just for the sake of good looks. They were looking for products that would provide the quality and excellence in performance to work well at this high elevation with colder winter temperatures and harsher weather. 

Smart Design with Quality Products

AE Building Systems was proud to support this project with a few core products including the Alpen Fiberglass Zenith 625 window system, the Advantage entryway door, and ProVia swing doors. The Alpen window products are a great solution to provide a stunning look, with high-performance thermal efficiency.

The Rangeline team also paid close attention to the wall assembly to reduce thermal loss. The exterior is cladded in a boral/stone material with Zip R6 sheathing. Then, they tied it all together with a closed cell spray foam to fill up the 4.5” deep walls on all exterior walls. 

Luke and his team were intentional on the blower door on the project as well: 

  • Pre seal blower door results (no masking) 2.51 ACH 50 (3381 CFM)
  • Pre seal blower door results (fully masked) 2.23 ACH 50 (3002 CFM)
  • Post Seal after AeroBarrier Completed .78 ACH 50 (1045 CFM)

Unrelated to performance but quite unique and frankly dramatic, Luke and his team figured out how to light up the translucent countertop.  The images below show the effect. 

The Summit View home is simply stunning and the great craftsmanship shines through. Our team was honored to be part of the process and support Rangeline Homes in the construction process. We love seeing examples where form AND sustainable function come together for a gorgeous build that operates efficiently as well. 

Project Specs: 

Location: Evergreen, CO
Architect: Mosaic Architects
General Contractor: Rangeline Homes, IG: @rangelinehomes

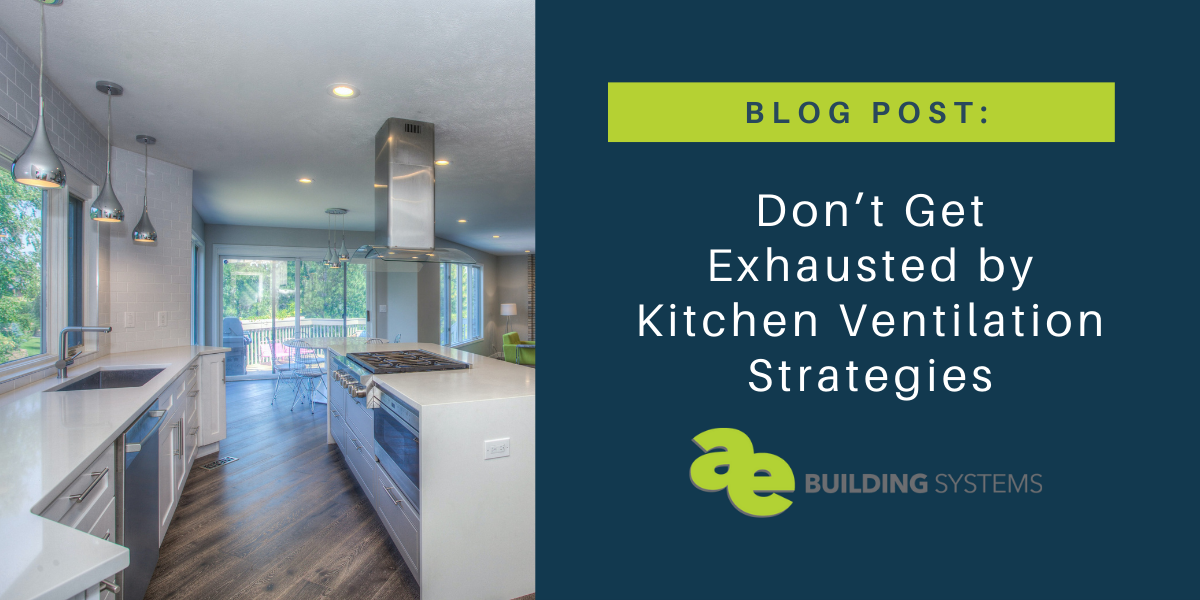
Don’t Get Exhausted by Kitchen Ventilation Strategies

An Overview of the Options & Approaches for Kitchen Ventilation

Your kitchen must be so exhausted! A lot of work happens in the kitchen, so not only are your appliances doing a lot of work, but the air needs to be exhausted out to keep the air quality in check. There are typically two main elements involved in venting a kitchen space: capturing and removing pollutants and exhausting them outside. And whether you’re dealing with a Passive Haus kitchen or just wanting better air quality, ventilation strategies are an important thing to consider. 

The Great Debate: Vent Out or Recirculate?

Wall-Mounted Hoods

A common method for ventilation is a wall-mounted hood, which provides a steady, effective fume capture, especially compared to island extractor hoods. Within the same capture capacity, wall-mounted hoods can have a 40% lower flow rate compared to island extractor hoods! Mounting standards suggest that they be placed 50-60 cm, or about two feet, from the cooktop. When installed higher, which is very common, they lose effectiveness as air can escape out into the rest of the room. 

Recirculate? 

The jury seems to still be out when it comes to venting vs. recirculating. That said, many experts argue adamantly that venting to the exterior is an absolute must. A PHI report notes that “no moisture loads are removed with recirculation operation,” so other ventilation is required, and “in order to ensure proper functioning of the recirculation air system and limit the pressure losses, the air filter must be cleaned and/or replaced at regular intervals.” 

Is Exterior Venting 100% Effective?

From an air quality perspective, exterior venting appears to be a no-brainer! However, in Passive House buildings, the use of a kitchen exhaust air system may actually increase the demands on the heating system. It creates another penetration within the building envelope, requiring even more focused attention for airtight construction. 

As a result, when it comes to Passive House design, some folks lean toward recirculation hood systems. 

Small dwelling spaces, like apartments, also become difficult for exterior ventilation, and lean toward recirculation instead. 

So, what is the best approach? 

First off, keep in mind that kitchen ventilation is a hotly debated topic and you’ll find experts that have different approaches. Not everyone is approaching things evenly. Some care more about air quality than energy-efficiency and vice versa. 

From our perspective, as we weigh the Passive Haus approach, plus healthy air quality, here’s how we would approach this puzzle for a brand new Passive Haus project:

  • Use an induction range, rather than an electric or gas stove. Induction cooking produces fewer VOC’s just by nature. Plus, it’s more energy-efficient! 
  • Ensure the duct to the kitchen is sufficiently large to pull at least 300 CFM from the kitchen. 
  • Recirculate the kitchen ventilation system, either with a downdraft or a hood, using a carbon filter. Pair this with the CERV2.
  • Set up the CERV2 zone damper and a wireless transmitter on the vent to exhaust the kitchen. The wireless transmitter communicates with the CERV2 unit to go into “boost mode” or max the volume within a set time period. Ideally, set up the CERV2 to pull all return air from just the kitchen space, rather than both bathroom and kitchen, by using the zone damper and cutting off the returns from the bathrooms. 

Why CERV2?

The CERV2 for kitchen ventilation is effective as it can reduce and minimize penetrations in the structure’s building envelope, balances filtered make-up air, supports energy recovery, and reduces pollutant levels in a home. The CERV2 has so many amazing benefits, especially when you’re looking for energy-efficient, or Passive Haus tactics. Take a look at a good overview of how you can improve indoor air quality with the CERV2. 

As we mentioned above, this is a highly debated topic and there are multiple approaches to balance good air quality with energy-efficiency. If you have questions or want to know more, feel free to reach out to our team here at AE Building Systems. We love to research the latest and share our knowledge on the techniques, as well as top products to use in your next kitchen project.