Here’s a look at how the Collins-Ruddy family worked to retrofit their home…
We like to practice what we preach here at AE Building Systems, which is why we’re excited to share about a project for our very own Todd Collins! (If you haven’t met Todd yet, below is a quick intro.) The Collins-Ruddy Residence is probably much like your own home: it wasn’t built from scratch with Passive Haus/energy-efficiency in mind. So many homeowners buy a home that meets other needs, but often doesn’t tick the box of efficiency. And so, we enter a retrofit situation!
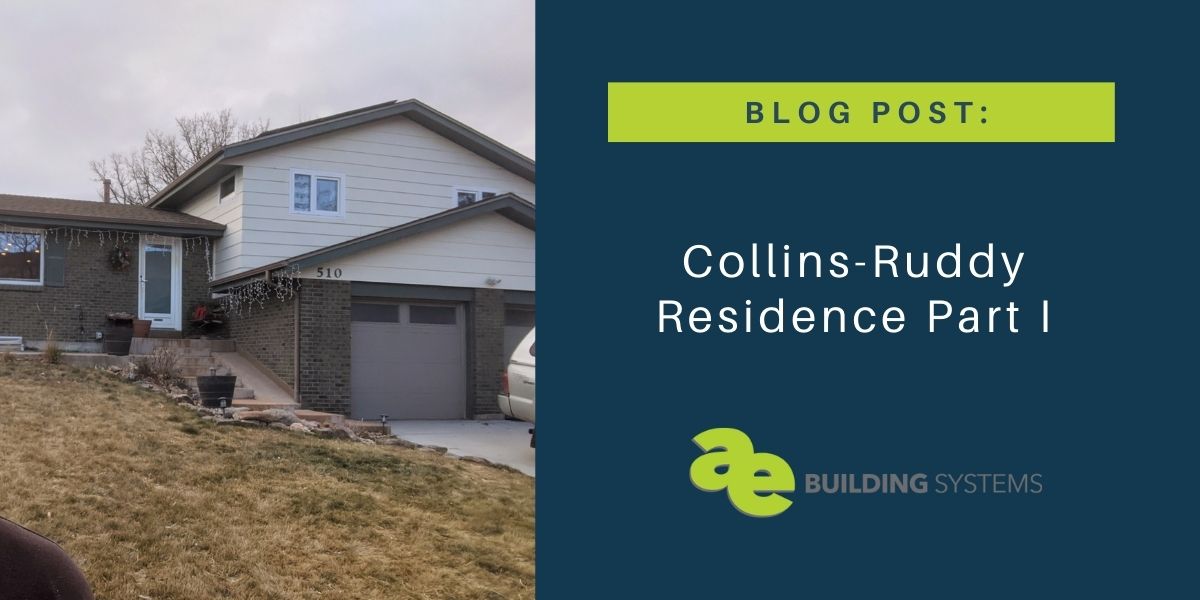
Setting the Stage
The Collins-Ruddy Residence is a 1971 tri-level home with a basement (four levels in total) with 2×4 construction, and fiberglass batt insulation. The home has had some window replacements, but they are still lower performance windows than the ideal situation. The house has forced air heat with a gas furnace, and a gas hot water heater as well. The house also came with a programmable thermostat, reasonably new range with a convection oven, electric resistance cooktop, and an old Montgomery Ward Fridge.
The Collins-Ruddy family keeps the thermostat roughly at 68 degrees F in evenings and mornings, and 60 degrees F at night and when not occupied. Of course, remote working and virtual school have changed the game for their recent years’ occupancy.
The Problem
Todd and his family care deeply about Passive Haus techniques and energy efficiency, so any home they would have purchased would have needed some adjustments in their eyes. However, this tri-level posed a few other obvious problems for them. The young kids’ bedrooms were COLD at night, resulting in poor sleep for them (and the parents)! They also experienced thermal bridging in most zones of the home, which were accentuated in extreme hot and extreme cold seasons!
The Investigation
Todd decided to get an energy audit for their home to evaluate how and what to focus his attention on to improve energy efficiency.
The Solution: Phase I
As a result of the audit, Todd did a few simple things to help within their current framework. Below is a rough timeline of their journey so far:
2012:
- Wrapped the water heater – Cost $40 for “insulation blanket”
- Power strips at TVs and Computers – Cost $50 to reduce phantom loads
- Gas Fireplace – Taped it off with an air barrier
2013:
- New Washer/Dryer – Cost $1400 – high-efficiency units
- New Fridge – Cost $1100
- New Garage doors – R-10 and reasonably airtight
- New Ceiling fans – To reduce A/C usage – DC/ECM motors and CFL/LED lights $2400
- Insulation/Air Sealing Contractor $4,100
- Insulated – skylight walls in attic – blanket insulation
- Insulated – knee-walls between attic and conditioned space – similar to skylight walls
- Air-seal attic junction boxes – ceiling fans (6) and electrical boxes – 3 new, 3 replaced
- Air-seal attic along exterior and interior walls – foamed attic wall junctions and gabled end where the walls meet the attic
- Attic hatch dam to hold insulation back
- Insulated attic hatch with 10” of recycled XPS and Poly-Iso
- Attic Insulation – increased insulation to R-65 (increase of R-25+) in two attic spaces
- Air-seal bottom plate – foam insulation in bottom plate rim from the interior
- Drill and Fill above garage/below bedrooms
- New bath fan with DC/ECM blower motor
2014:
- Installed Solar Panels $15,000 installed
- 3.9 Kw System – covers all electrical and then some
2015:
- Windows/Doors $27,000 installed
- Replaced all windows and doors – R-7
- Added two new South facing windows
- Installed new entry and French doors – R6 (Euro-style with multipoint locking for airtight and sound dampening results)
- Installed new door from garage to interior of house (insulated fiberglass r4)
2019:
- Basement – our office and workout space was cold due to thermal bridging
- Taped the bottom plate on the interior to reduce air infiltration
- Insulated basement walls with 3” Rockwood Continuous Insulation
2020:
- Kitchen remodel with energy-efficient appliances
- Induction cooktop
- Convection oven
- Fridge – second version 7 years later
- Dishwasher
- Nest Thermostat
Ongoing:
- Replaced Lighting – CFLs swapped for LEDs
- Retaped furnace ducts where accessible
The journey to better energy efficiency doesn’t stop, but as you can see this is a journey. Retrofitting a house doesn’t happen all in a blink of an eye, and this project is a case in point of how you can focus on small, low-hanging fruit, as well as bigger projects as your budget and time allow.
Join us next month to see how all of these changes have worked out for Todd’s family, as well as other issues they still plan to address in order to improve the house even more!
Got questions for Todd? Feel free to reach out!
Todd Collins 720.287.4290
Leave a Reply