This post is part of a series on thermal bridging.
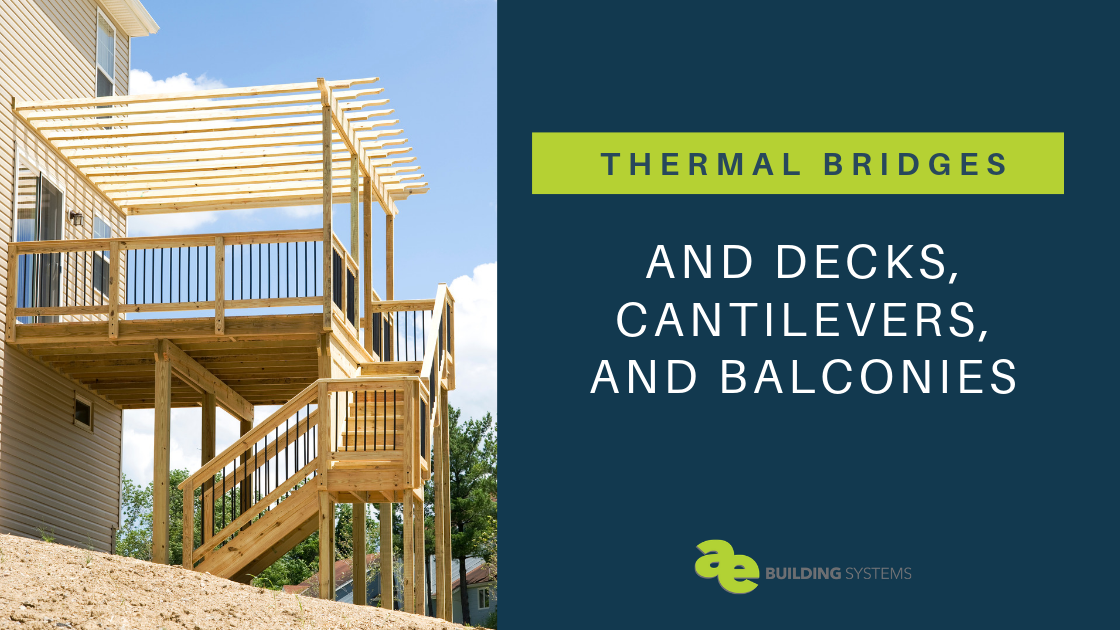
Have you been charged with designing an energy-efficient deck or balcony? Or maybe you’re looking at blueprints with cantilevers that has your gut telling you something’s not quite right. Perhaps you’re a homeowner itching to start a project, but the term “thermal bridging” stopped you in your tracks. Whatever you’re working on, we hope this entry helps clarify what thermal bridging is, why you can’t afford to ignore it, and how to address it appropriately when constructing a deck, balcony, or cantilever.
Recap: What is thermal bridging?
Thermal bridging, quite simply, is the movement of heat through a material that’s more conductive than the air around it. Anytime a thermal-conductive material like steel, concrete, or wood penetrates the building envelope, it creates a highway for heat to exit (or enter) the building. Don’t think it’s worth taking seriously? Consider that this can account for heat loss at a rate of up to 30%! (Want to learn more? Read our 101 here.)
The inefficiencies created by thermal bridging not only reflect poor design, but can result in high energy bills and discomfort for the homeowner. Worse, because these materials move condensation and wetness along with temperature differences, thermal bridging introduces the potential for expensive damage due to moisture and mold. Just think about the havoc persistent moisture within your walls could wreck!
We’ve already covered how windows are a prime offender for thermal bridging in your home. Now, let’s talk about what you need to take into consideration when building a deck or balcony and incorporating cantilevers into your design.
Thermal bridging in action
Thermal bridging is most pronounced with materials like steel (you’re probably thinking of beams and support, but fastening items are guilty too), although wood will also transfer heat. Basically, if you’re designing or constructing any element that projects from or enters the building, you need to pay attention to our points below in order to get energy efficiency right.
A cantilevered steel deck or balcony might as well be a case study for how thermal bridging works. Or, for that matter, a concrete slab (just look at multi-level apartment buildings). Decks and cantilevered design elements project out from their origins within the building, breaking through the building envelope and really quite efficiently conducting heat from (or into) the building.
Imagine these elements as giant radiator fins and you’ll start to get the picture of exactly how thermal bridging works!
However, with the right strategy and materials, you needn’t drop the trending cantilever look from your design toolbox. Stay with us as we get into some solutions and techniques to help you address this problem elegantly and efficiently.
Risks associated with thermal bridging
Heat leaks
Decks, balconies, cantilevered bump-outs, and concrete slabs are notorious for leaking heat. In the winter, you might notice that the interior floor near a deck feels colder to your feet – that’s poor design helping heat escape through the structure of your home.
Keep in mind this is not just about staying cozy: All of this wasted energy costs a homeowner money and impacts the environment.
Moisture issues
Let’s head back to grade school for a second. Remember what happens when warm air hits a cooler surface? You guessed (or Googled) it: Condensation. Now picture those beautiful decks, cantilevers, and balconies. Not only are they exposed to the elements, but when that warm summertime air travels into the AC-cooled building envelope thanks to thermal bridging, not only is condensation bound to happen, but you could soon have a serious mold problem on your hands. It’s not just a wintertime issue.
Working with a pre-built structure? Here’s how to tell if there’s a moisture problem: If you’re lucky enough not to find mold, you’ll see darkened areas where the moisture has attracted dirt.
One last thing to keep in mind here: having a vapor-open approach to the envelope assemblies is important. If moisture condenses with the envelope assemblies, it has to be able to migrate out of the assemblies or you will have mold issues.
Prevention & mitigation strategies
Ultimately, thermal bridging solutions are all about mitigating heat transfer – but let’s not forget air leaks. Use the following tips and tricks to help you “break the bridge.”
Good design
No surprise, preventing thermal bridging starts with good design. And the best way to get good design from the get-go? Tell your architects and structural engineers to work together and think “energy smart” first. (This may sound easier than it is!)
Ideally, good design doesn’t compromise the building envelope – which means you should try to construct your deck or balcony separately from the building and secure via load-bearing brackets to the walls or support independently. Even better, on its own foundation.
For decks:
So best-case scenario for a deck is an independently constructed structure on its own foundation. Otherwise, anywhere that a deck is attached to or penetrates the structure of the building, anticipate thermal bridging to occur. And if heat transfer is happening, you better believe moisture transfer is happening too.
You need a plan to keep air out of your walls, since air (or more precisely, the vapor in the air) is the primary culprit for moisture condensing within the wall assembly. You might consider installing enough continuous rigid exterior insulation so that the dewpoint occurs outside the envelope assemblies. Using a vapor-open approach will help ensure that if your walls do get wet, they can dry.
For balconies:
You might try supporting the outer corners of the balcony with steel rods or cables attached higher up the building – which can add visual appeal to your exterior design. Or, you might support the balcony with wooden brackets affixed to the building’s exterior. You may also be able to support the corners on independent posts, like you would for a deck.
If none of this possible or the design is already set in stone, using the right materials, insulating them, and creating an air barrier can significantly reduce or even eliminate thermal bridging issues. Read on for more about these strategies.
Structural thermal breaks
A thermal break is a material used to block the path of heat transfer. Incorporating structural thermal breaks (like specialized plates, pads, or foam) between a balcony and floor slab can reduce heat transfer by up to 75%. Bonus: This also improves condensation control.
You can purchase manufactured thermally broken balcony connectors from manufacturers such as Schock and Halfen.
Air sealing & taping
Air sealing is an important step to making sure your building envelope is airtight. Don’t make the mistake of thinking you’ve covered your bases simply by insulating. Air can move around insulation, bringing higher/lower temperatures – and moisture. Since any penetration through the structure breaks the building envelope and creates the potential for airflow, you’ll want to make sure you have a plan for air sealing.
In fact, you should start the air sealing process even before you add any insulation by using a weather barrier system that is also an air barrier. Arguably, adding an interior air barrier can be a belt-and-suspenders approach. Learn about interior air barriers here.
The Holy Grail here is an airtight, vapor-open building envelope. (There’s even a certification for that. Learn about Passive House.)
Insulation
Exterior insulation is often recommended and should be considered part of that building envelope you want to avoid penetrating. You’ll especially want to insulate around the highly conductive steel studs and structural framing. Here’s one exterior insulation we trust to do the job well.
Continuous rigid exterior insulation is used for wrapping the building structure. Ideally, you are using enough insulation to move the dewpoint out of the structural wall assembly and into the exterior rigid insulation. “Continuous” is the key word here – you want to install it without breaks. If you need to cut out the rigid insulation around penetrations (which would obviously short-circuit your attempts at preventing thermal bridging), taping and spray foam will be your friends.
Double stud construction: With double stud construction, the exterior studs will act as the structure, while the inner studs are used for chases and insulation with a gap between the two. Insulating the gap between the studs provides the thermal break. Decks and balconies can then be bolted to the structural exterior studs. Other cantilevered details like bump-outs are not recommended without an air barrier and a continuous rigid exterior insulation layer.
An educated crew
Ultimately, a well-informed crew (from architects to structural engineers to construction teams) will know what to look for and the steps they can employ to minimize thermal bridging while making the assemblies airtight.
Wrapping it up
We hope this post has helped underscore the importance of addressing thermal bridging and given you some strategies to make your design work. The good news: With these strategies and the right materials, you can significantly lower or eliminate the risk of thermal bridging in your deck, balcony, or cantilever design.
Serious about energy efficiency and want to get thermal bridging right on your next project? Talk to us.
Want to learn more about the impact of thermal bridging? Start with this post: What Are Construction Thermal Bridges in Buildings?
Leave a Reply