In this post, we’ll go over a few key tips for installing windows, sliding doors, and swing doors. Whether you’re updating windows in your home to modernize the look or increase energy efficiency, or you’ve got a new build going up, we hope the information we’re about to drop gives you some insight to the highlights of installation. NOTE: Any window or door you purchase should come with an installation guide, which you’ll want to read thoroughly. If we provide information here that is not in your instructions, please confirm with the manufacturer before proceeding.
While it may seem intimidating, installing a door or window is completely doable for everyone from the DIY-er to the seasoned builder. If you need a refresher on the various types of windows and doors, head back to our last post. Otherwise, grab your ‘driver, level, and some shims – here we go!
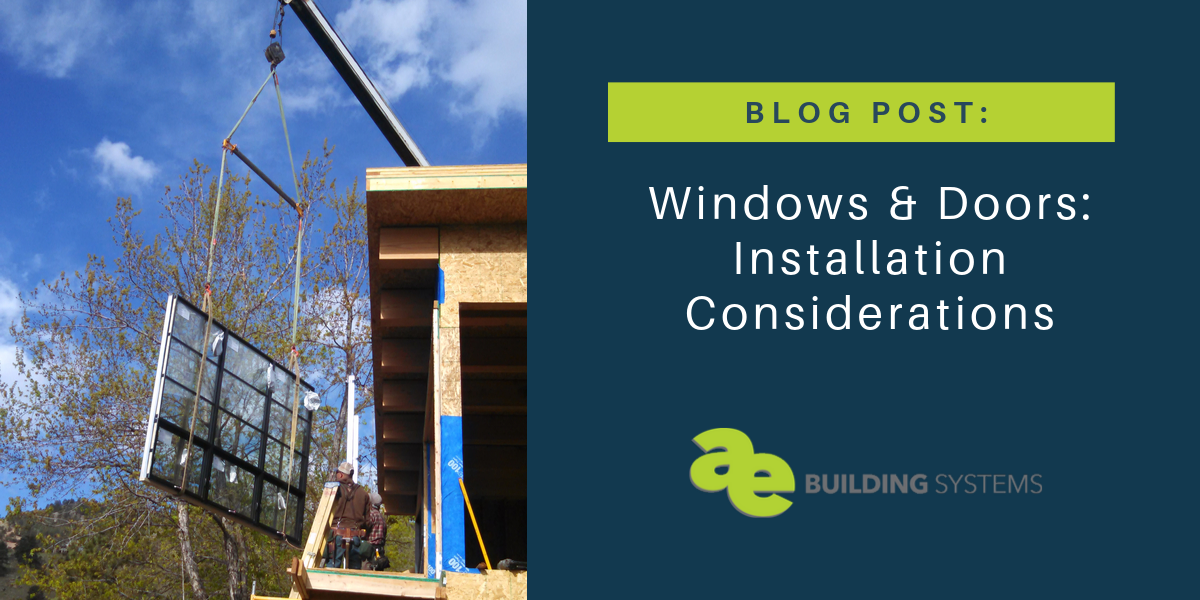
Installing windows
There are many different kinds of windows, but the approach is generally the same. The basic steps are 1) Flash 2) Frame, 3) Install, 4) Seal, and 5) Trim. You’ve got this!
A few rules to live by:
- Do it right the first time.
- Measure, measure, and measure some more.
- If the opening is wider than 3 feet, use temporary supports.
- Moisture is your enemy.
We’ll assume you’ve already done your measuring and have prepped your framing, including checking for any water damage and replacing any wood that’s not up to the task at hand. Better to do it right at this point than to tear out all that hard work later.
Prep and preflash
First things first, prepare your opening by protecting the wood. There are a number of products you can use, but we won’t get into all the options here. Here’s a brief document that shows how to prepare an opening. However, if you’re doing a retrofit and working with replacement windows, getting the situation to look like this is not likely. You’ll just prepare and protect the opening as well as you can.
Plumb, level, and square
Next, you’ll “dry fit” your window – pop it into place and add a few screws at the top to hold it there temporarily. Grab a couple shims and make sure the window is plumb (level along the jambs), level (from the sill), and square (corners are perfectly 90०) on both the sash and the frame.
A trick for measuring plumb: Measure the diagonals of the windows, and if the numbers are equal each way, you’ve arrived at plumb. The longer the level you use, the more accurate you can be.
Don’t put away your level and framing square yet – you’ll be checking and re-checking each piece throughout the whole process.
Nail flanges
Many windows will have a nail or screw flange (also called a fin), that attaches to the window jamb. Not only do they make installation pretty simple, they also do a great job keeping moisture out. While you will hear folks call these nailing flanges, do we really want to swing hammers near our windows? Screws are also a much better fastener for the long run.
You can screw right through these flanges to attach the window frame to the jambs, but first, you’ll need to cut the siding and slip in weather barrier behind the siding, wrapping around the framing for weather protection.
Next, you’ll caulk all around the opening where the flange will attach. Before you tilt the window into place, be sure you have some shims handy so you can shore up level, plumb, and square once again. Then drive your screws through the flange.
Anchor brackets & through-frame install
Another option that is increasingly used and very common with Euro windows is anchor bracket install. Generally installed to the interior, anchor brackets are metal strapping that is attached to the window and then fastened with screws into the jamb. All the usual guidelines – plumb, level and square – apply. Anchor brackets are often used to install windows in thick walls like double stud walls and in high performance situations where we want the window in the middle of the insulation layer.
Through-frame, sometimes referred to as a block-frame install, is just that – screwing through the frame to fasten the windows. Note that this is more common with operable windows like casements and tilt/turn windows. If using a through-frame approach, make sure you communicate that to your sales representative as special accommodations might be necessary with the windows. Using through-frame is less common with fixed windows as it generally means you have to remove the glazing and then re-glaze after the frame is installed.
Fastener frequency
Always refer to the manufacturer’s instructions related to frequency of the fasteners. Also, pay special attention to fastener frequency when in high wind-load areas. More fasteners are often necessary where the wind loads are higher.
Interior jamb and sill extensions
If your jamb turns out to be flush with the drywall inside once you’ve installed the window, lucky you. For the rest of us (especially when retrofitting an older home), jamb extensions may seem like a good option.
A jamb extension is the piece that extends the jamb (the frame of the window) along the inside depth of the wall. Not only does this clean up the window framing, it gives you a clean edge to attach the casing.
Sill extensions build out the sill area and give you a smooth line, whether you’ve opted for a deep window frame or not. If you’ve chosen not to have a substantial window sill, this may only extend to the edge of the window trim; otherwise, it can be as deep as you’d like it.
Pro tip: We recommend against interior jamb and sill extensions because it limits access to the rough opening gap for insulation and air sealing. If you do go for it, it is often easier to build and install these extensions onsite. Also, we recommend taping the interior all the way around to the jamb to complete the air barrier. Please contact us for more information on this.
Exterior finishing
On the exterior of the building, you’ll add your exterior casing, fasten that into place, then caulk all the way around. Install your drip cap over the window with some caulking, slipping the top edge just beneath the siding. Secure that drip cap to the top of the window casing.
Inside, fill any gaps between the window jambs and framing elements with loosely packed fiberglass insulation or a window foam. Then you’re on to a final caulk (and ideally tape) on the flange and painting.
Exterior frame extensions and sill are also available, which create a different look but also help to improve the performance of the wall overall. Passive House would say to put the window in the center of the insulation layer to get the best overall wall performance (window and walls collectively). An “innie” install makes things a bit trickier for detailing. Exterior sills and frame extensions help reduce some of the brain damage of these details. Again, please contact us for more information on these options.
Installing sliding doors
Sliding doors are great. All that added light, plus they don’t require the interior clearspace a traditional swing door needs to swing open. What’s not to love?
When installing a sliding door, the key pieces to pay attention to are where and how the door meets the floor and getting everything super duper leveled up to keep that sliding action smooth for years to come. If you’re doing your project with us, we’ll talk through all the micro details up front so the installation process is as seamless as possible.
There are a couple options related to the floor detail, and specifically to the threshold. Give us a call to discuss options like FASTrack where the sliding door actually embeds into the concrete floor providing a super clean look. Note that there are thermal bridging considerations related to these types of systems.
Plumb, level, and square
Just as with your windows, taking the time to get plumb, level, and square straight will save you a host of headaches down the road. Since sliding doors are usually bigger than windows, small degrees add up and can mean your door will sag, stick, or even drift open and closed.
We’ll add another term to this: “True.” True is your double confirmation: If plumb, level, and square are right on one side but ever so slightly sloppy on the other, you’re not true. Both sides of the door need to be plumb, level, and square to be true.
Installing swing doors
If we haven’t hammered this home enough yet, plumb, level, and square are operative words when it comes to doors, too. When installing a door, shims will start to feel like your right hand. This is most important on the hinge side of the door. One key thing to keep track of is how high off the ground the door hangs – you don’t want your crew arrive to install flooring and find out said flooring is taller than the bottom of the door sash/slab, making the door impossible to open.
Euro doors: The sash condition
It is very important to remember that European doors have very little clearance between the bottom of the sash of the door and the bottom of the threshold – generally less than a half inch. What that means is wood flooring installed after the door at ¾” will prevent an inswing door from opening. Make sure to accommodate the finished floor height relative to the door when selecting and installing doors.
Brick mould and other trim considerations
Pre-hung exterior doors often have brick mould attached – an additional piece of exterior trim (wood, vinyl, whatever your door frame is made of) designed to cleanly overlay a brick exterior and produce a finished look. It doesn’t matter whether or not you actually have a brick exterior – this is just the name the piece comes with.
Because brick mould makes it difficult to access the rough opening gap, to insulate and air/weather seal around the doors, we often recommend against using it and instead finish the door trim in the field.
A quick note on installing Euro balcony doors
Balcony doors are essentially a window installation. What sets a balcony door apart is that you have to lift your feet to step over the bottom of the frame – the threshold is not flush with the floor. Not great for high-traffic areas, but it can save you a few bucks where it counts (more here). Plumb, level, square, weatherproofing, and off you go.
Wrapping it up
We hope you found some answers to your burning questions about installing windows and doors in your building. There’s a lot of information out there, and the specific product you get will come with its own installation guide. We’re here to help point you in the direction of some of the tried-and-true products we recommend (like our windows & doors or weather barriers), and we’re always happy to chat about your project. You can get in touch with us here.
Leave a Reply